Description
This guides a beginner to perform an initial setup of a Raspberry Pi. A coach should be nearby to assist when needed.
Next up?
After reading this guide, you may be interested in reading:
- RPi Desktop Mods, Changes to the packages and defaults of the full Raspian
Overview
A coach provides:
- a connected Core Pi v2
- a MicroSD with Raspbian image installed
- a Chrome browser with the Secure Shell and VNC Viewer apps installed
You provide:
- a name for your new pi (required)
- a password for your pi (required)
Some useful information is:
- SSID to connect to is corepiv2
- Corepiv2 wifi password is raspberry
- New pi username/password is pi/raspberry
- Core Pi router IP address is 192.168.42.1
- Core Pi microcomputer IP address is 192.168.84.1
The steps to follow for easy setup are:
- Attach your pi
- Connect to your Pi
- Run first boot setup
- Update and upgrade
- Improving security
- Connect with VNC
- Personalize your desktop
- Conclusion
Attach your pi
Time to complete is about 5 minutes.
Your new pi is a microcomputer and a MicroSD card as shown in the photo. You may also have a USB wifi dongle.
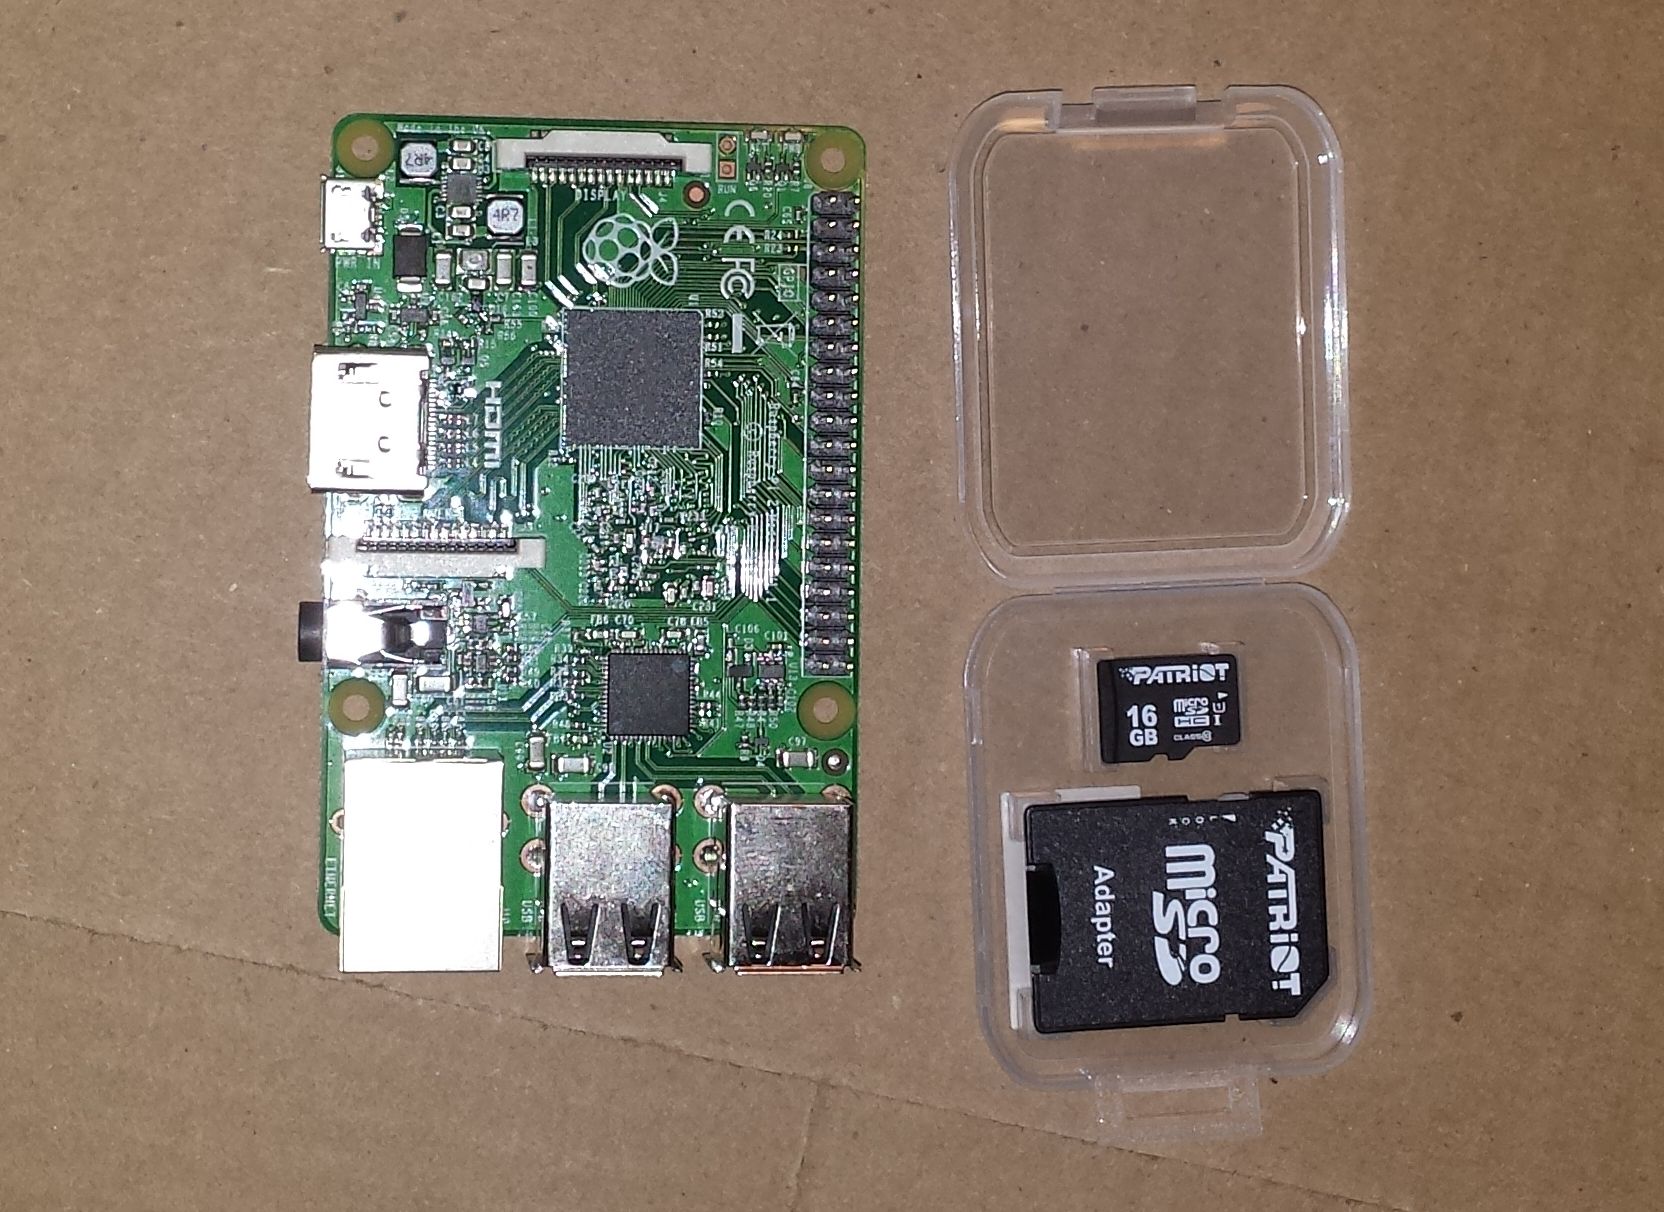
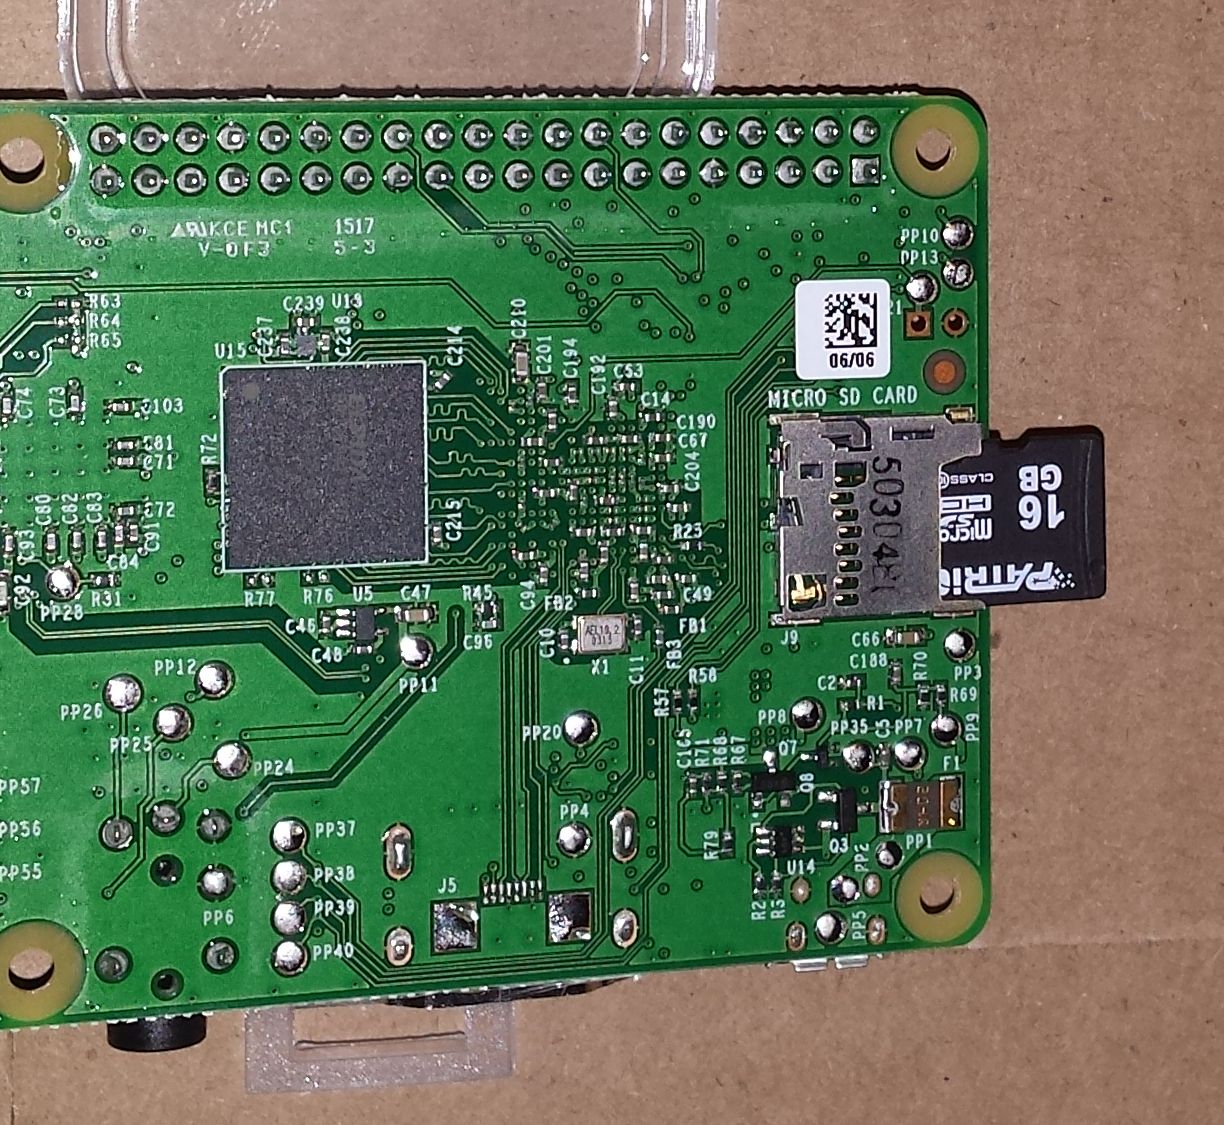
Insert the MicroSD card into the slot on the bottom of the pi. the MicroSD acts as the hard drive of your computer.
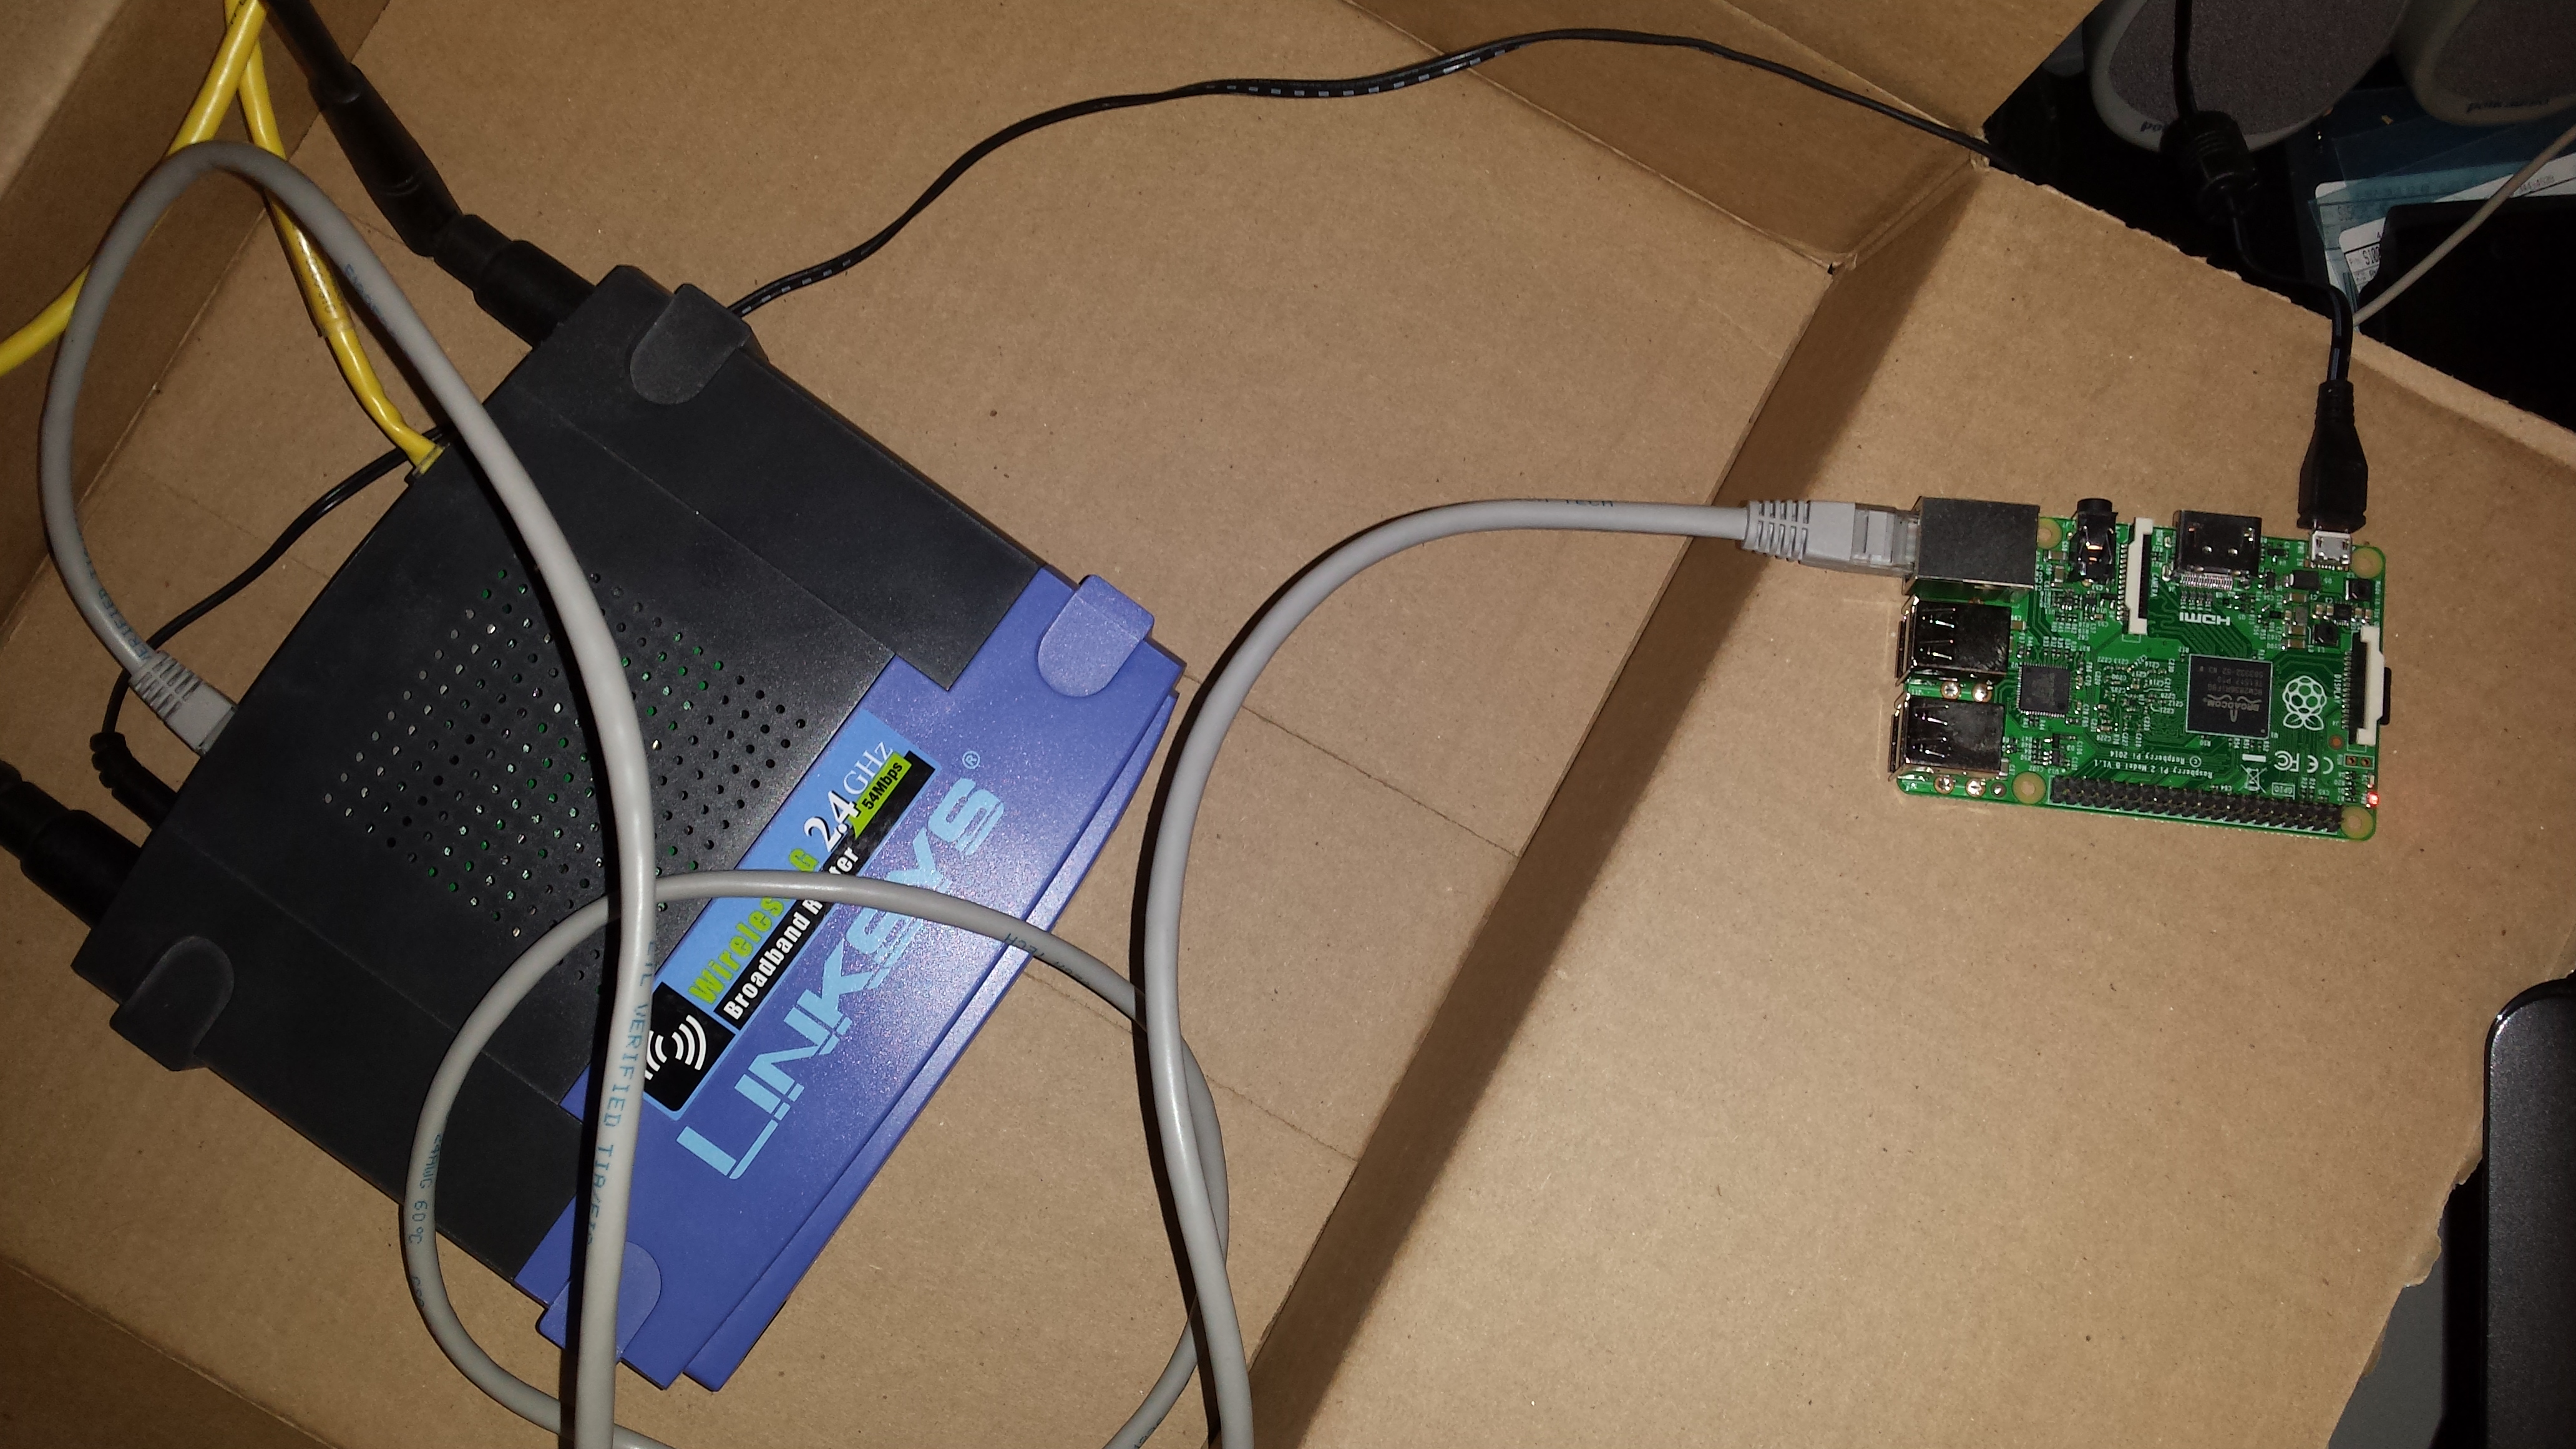
Use the Ethernet cable to connect your pi to the Ethernet switch. Provide power via the microUSB. This is the same as a smartphone power cord.
Your pi is now attached.
Connect to your Pi
Time to complete is about 10 minutes.
Wifi access point
Using standard methods connect your computer to the corepiv2 access point. The name is corepiv2 and the password is raspberry.
Find your new pi's IP address
- Point your browser to 192.168.42.1
- Browse to the bottom of the page to the section DHCP Clients
- Note the IP Address of your newly connected raspberrypi. In this guide, anytime you see newpi_IP it refers to this IP Address.
SSH
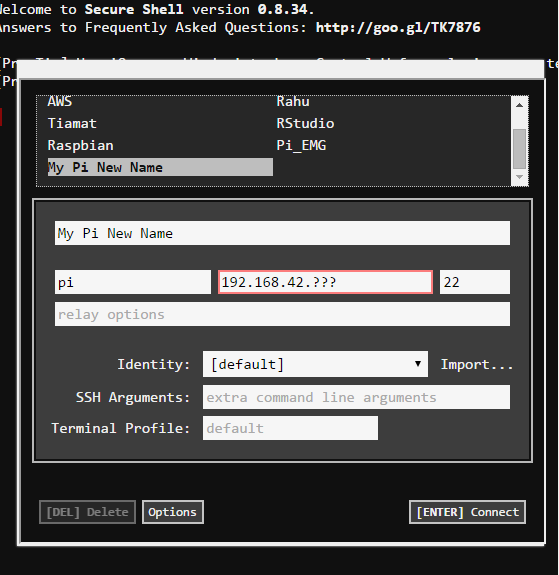
Use the Secure Shell app to connect to your new pi. Start a [New Connection] and then then name your connection whatever name you picked for your pi. The username is pi, the hostname is newpi_IP, and the port is 22. No other information is needed and you may click Connect. Your information should appear similar to this image.
Since this is your first time connecting to this pi, you should receive the message:
Connecting to pi@newpi_IP...
Loading NaCl plugin... done.
The authenticity of host 'newpi_IP (newpi_IP)' can't be established.
ECDSA key fingerprint is 2a:a7:94:bd:45:f2:00.
Are you sure you want to continue connecting (yes/no)?
Enter yes
You will now see a prompt to enter a password. The password is raspberry. If instead you get an error message such as:
@@@@@@@@@@@@@@@@@@@@@@@@@@@@@@@@@@@@@@@@@@@@@@@@@@@@@@@@@@@
@ WARNING: REMOTE HOST IDENTIFICATION HAS CHANGED! @
@@@@@@@@@@@@@@@@@@@@@@@@@@@@@@@@@@@@@@@@@@@@@@@@@@@@@@@@@@@
IT IS POSSIBLE THAT SOMEONE IS DOING SOMETHING NASTY!
Someone could be eavesdropping on you right now (man-in-the-middle attack)!
It is also possible that a host key has just been changed.
The fingerprint for the ECDSA key sent by the remote host is
d6:be:12:7e:22:23:c3
Please contact your system administrator.
Add correct host key in /.ssh/known_hosts to get rid of this message.
Offending ECDSA key in /.ssh/known_hosts:7
ECDSA host key for xxxxxxxxxxxxx.yyy.au has changed and you have requested strict checking.
Host key verification failed.
NaCl plugin exited with status code 255.
(R)econnect, (C)hoose another connection, or E(x)it?
talk to your coach. Your coach may choose to follow this SSH hint.
Run first boot setup
Time to complete is about 10 minutes.
Start the configuration software to expand the filesystem, change the password, and change the hostname. Enter the configuration with this command, sudo raspi-config.
- Select and execute Expand Filesystem
- Select and execute Change User Password
- Select and execute Internationalization Options
- Change Locale to your locale.
- Use spacebar to select/deselect
- Deselect en_GB.UTF-8 UTF-8
- Select en_US.UTF-8 UTF-8
- OK
- Select en_US.UTF-8 UTF-8 as default and then OK
- Change Timezone to UTC.
- Change Locale to your locale.
- Select Advanced Options and select and execute Hostname. Pick a unique and easy to remember hostname. This will be used to connect later.
- Reboot your system
sudo reboot now.
INFO: The pi may be shutdown from the command line with, sudo shutdown now. Wait about a minute and remove power.
Update and upgrade
Time to complete is about 5 minutes. This does not include the amount of time required to upgrade. Upgrading your system may take an hour with a slow connection and many upgrades.
It is important to keep your pi's software up to date. This is commonly done using apt-get. The main keywords to know are update, upgrade, install, and remove. So let's make the system current.
Use the corepi cache
The corepi system uses a cache to locally connected pies. A single line added to a configuration file makes this available.
sudo nano /etc/apt/apt.conf.d/02proxy- Learn about nano, the editor used to write the configuration file. The Beginner’s Guide to Nano
- Add the line
Acquire::http { Proxy "http://192.168.84.1:3142"; };
Upgrade
- Update the packages list,
sudo apt-get update. - Upgrade software packages to the current version,
sudo apt-get upgrade. - Relax, this might take a while. Maybe grab lunch.
Improving security
Some general rules to security are:
- Do not use default passwords
- Use multifactor authentication
- Do not provide shell access unless it is needed
- Do not provide services you do not need
- Do not needlessly expose services
- Apply security patches
- Prevent physical access
- Use quality cryptology
In this beginner's guide, only one additional area of security will be improved. You should already have changed the main password. If you haven't, revisit Run first boot setup and change it now.
SSHd configuration
Time to complete is about 5 minutes.
There are a few SSHd configuration changes that will improve SSH security. Since SSHd is likely a service you do want to provide and it gives shell access, this is important.
- Edit the configuration file,
sudo nano /etc/ssh/sshd_config - Change the following:
PermitRootLogin no- Add the following:
AllowUsers pi
# Even better if you use a non-default user
Connect with VNC
NOTE: There are many security problems in current vnc implementations. Permit access to vnc servers on the local network only.
- Install TightVNC Server,
sudo apt-get install tightvncserver. - Start the server,
vncserver -nolisten tcp -nevershared -dontdisconnect :1.- Learn more with
man vncserver,man Xvnc, andXvnc -help
- Learn more with
- Enter the requested new vnc password, a view-only password is not needed.
- If you later wish to set a different password simply
rm .vnc/passwd
- If you later wish to set a different password simply
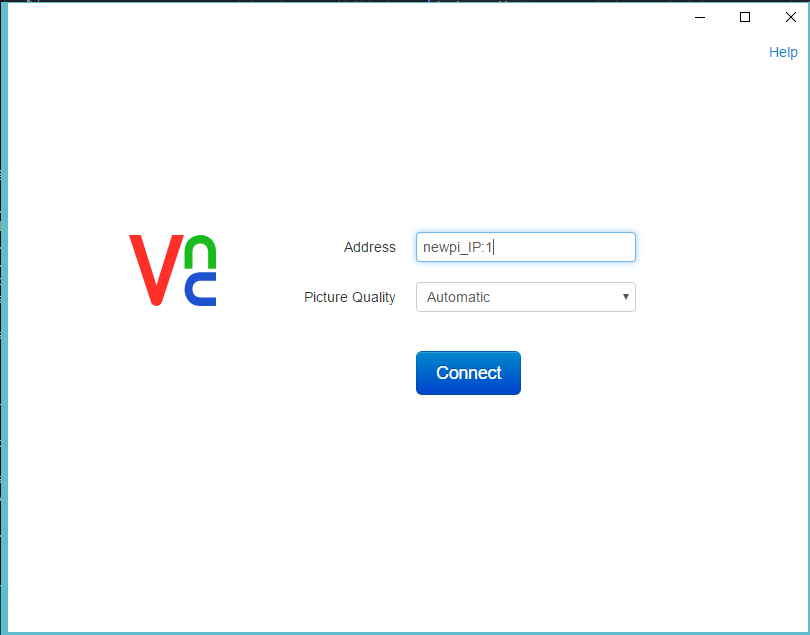
- Start the VNC Viewer app from Chrome
- For the address, enter newpi_IP:1
- Your information should appear similar to this image.
INFO: Stop the server with vncserver -kill :1
- Click Connect
- When requested, enter your vnc password
- You should now be viewing the desktop on your new pi
Personalize your desktop
Since you are now looking at the desktop of your raspberry pi, start making it your own. Start with RPi Desktop Mods.
Conclusion
Use your pi! Explore the menu system. Show no fear in the command line. You cannot harm this computer by any actions taken through SSH or VNC.